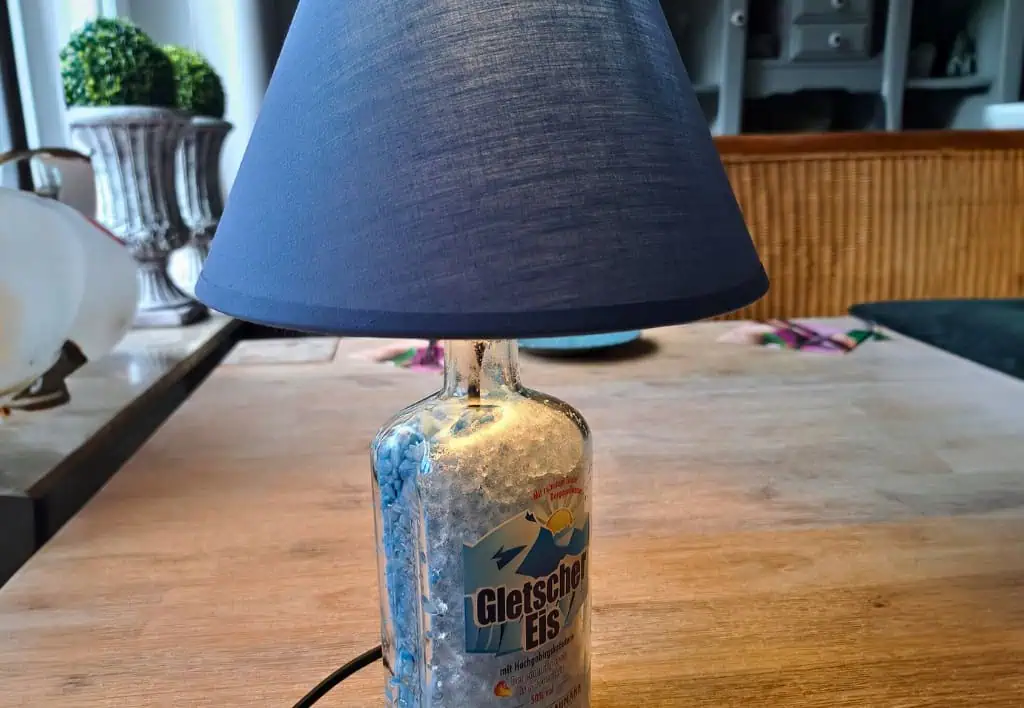
Are you a passionate DIY enthusiast and can often be found in DIY stores? Then we have a fantastic idea for you today! We'll show you how to turn a glacier ice bottle into a table lamp. A family from northern Germany sent us these instructions with a photo and we are absolutely thrilled!
The idea of making a lamp out of a bottle is appealing in itself. It's particularly great that our glacier ice bottle is used, whose bright blue design harmonises perfectly with the lampshade - simply gorgeous. Take a look at the result, read the instructions carefully and consider whether you would like to try your hand at this project. A little manual dexterity and some experience are an advantage, but most DIY enthusiasts already know that.
You need
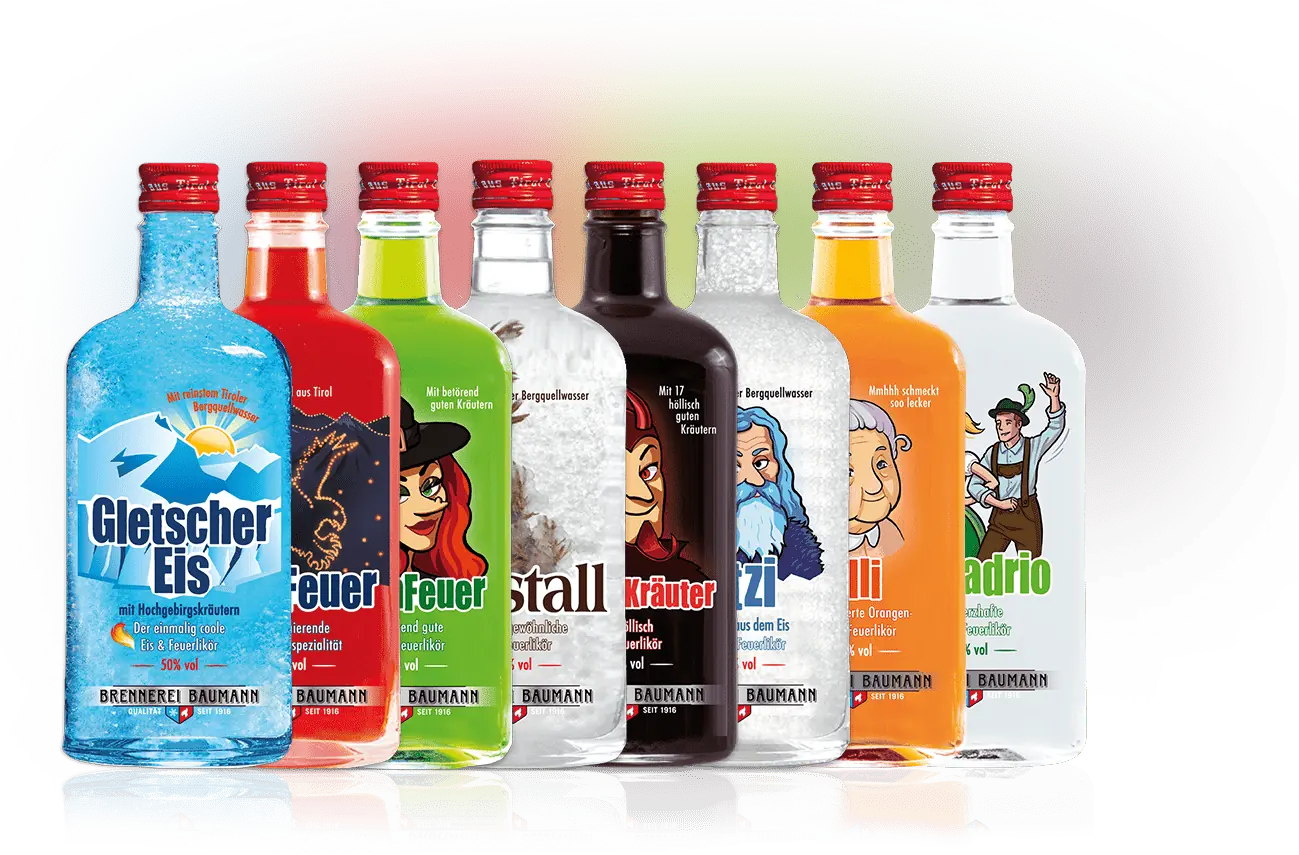
- an empty GlacierIce Liqueur bottle
- Plastic grommet for an 8 mm hole
- Lampshade for floor lamps (approx. 20 cm diameter)
- A cork or similar material
- Electric cable with light switch and E14 socket with M10 thread
- E14 light bulb (e.g. 3W LED, warm white)
- Coloured decorative stones (optional)
- Sharp glass drill bit (8mm)
Step-by-step instructions
1. Preparation of the bottle
Clean your GlacierIce bottle carefully and remove any residue. Keep the label on the bottle or attach a piece of adhesive tape where you want to drill the hole. This will help prevent the drill from slipping.
2. Drilling the hole
Carefully drill a hole with a diameter of 8 mm close to the bottom of the bottle. Cool the glass constantly with water during the drilling process to prevent overheating and possible breakage. Wear safety goggles to protect your eyes from glass splinters.
3. Inserting the push-through grommet
Insert the grommet into the drilled hole to protect the cable and seal the opening.
4. Preparation of the cable and socket
Pull the cable through the cork and further through the grommet into the inside of the bottle. Connect the cable to the lamp socket. This work is best carried out by a qualified electrician to ensure electrical safety. If you are unsure, seek help from a specialist.
5. Last steps
Screw the light bulb into the socket and fill the bottle with coloured decorative material such as decorative stones. Then put on the lampshade. Your home-made table lamp is now ready. Place it in a suitable place and switch it on. Enjoy the cosy light and the unique ambience that your new lamp creates!
Let your creativity run wild - if you prefer a green lamp, you can use a witches' fire liqueur bottle instead and choose a matching green lampshade.
Have fun crafting!
A big thank you goes to the L. family, who came up with and realised this fantastic idea.